8.28.2023
Watched a very thorough video on how to remove the pedestal sink.
We bought the vanity last Christmas. Josh took it home so he could build the cabinet for it. We brought the cabinet and vanity top home from Denver after returning from the Alaska cruise in May. Was going to have Bruce the plumber install it, but he had retired over a year ago. So I decided to try it.
==================
I felt ready. So I started.
Turned off hot water valve. No problem.
Tried to turn off the cold water valve - barely moved, so tried some water pump pliers - almost broke the handle off. Time to ask Siri. Found a video about doing a stem repair instead of replacing the valve. Most are BRASSCRAFT, so look for Brasscraft Stem Repair Kit. Also said: use a rag when turning off the valve, no tools.
Cold side (right)
Hot side (left)
I believe Bruce the Plumber may have done that a few times here in the past few years.
_-----------_---------------_------------------_
PM - search for the kit
Went to Menards and Knecht Home Center; they have never heard of the Brass Craft Stem Repair kits. So bought a new valve, quarter turn, from Knecht Home Center.
Temp Wednesday was almost 100 with high humidity so stayed home and relaxed.
Thursday much cooler, so dived in. Turned off the water and installed the new valve. Disconnected the water lines, and the drain.
Removed the sink and pedestal. Removed the bolts from the wall.
Moved the base into the bathroom. Checked for level.
Need some shims, so went to shop and cut a bunch of shims using the Shim maker that Lon Gose helped me make many years ago. (Rabbit trail)
Vanity cabinet base
Vanity cabinet
Brought in DeWalt table to use for installing the faucet in vanity top.
Vanity top (viewed from bottom)
Tomorrow: plan to attach cabinet to base, then shim it level.
Then attach cabinet to walls.
Then install faucet into vanity top.
9.1.2023
Worked on the vanity:
Located the studs
Secured cabinet to the base with six screws (1 1/2”)
Drilled pilot holes for screws to walls
Shim the cabinet level
Secure cabinet to wall with 3” screws
Cabinet screwed to base and secured to walls
May need a faucet install tool.
Found out that I really don't need for install (but really helpful for removal).
Old sink water lines. New ones need to be different per faucet instructions.
But Menards guy showed us the right water lines to buy.

J
Ready to install faucet into sink.
Plan:
install faucet in sink
Install stop in sink with linkage etc.
Set Sink on cabinet - measure how long the water supply lines need to be.
Buy the water lines.
Hook up water lines to faucet.
Set sink on cabinet
Dry fit the trap drain, etc.
Then
Put caulk on top of cabinet, install sink on caulk, let set for a few hours.
Then come back and hookup supply lines to wall, and then hookup drain
9.13.2023
Bought reducer washer to make the 1 1/4 " drain pipe fit the existing 1 1/2" wall drain pipe - found it in Sturgis Runnings on 9-8-2023.
Dry fit the drain parts
Removed the sinktop.
Put caulk on top edges of cabinet.
Put sink back on cabinet - let it sit for a couple of hours
Connect the water lines
Connect the drain and trap etc
Check for leaks in water lines
Run water in sink
Check for leaks in drains and trap
Reinstall the doors
Put drawer back in
Adjust doors
Install handles.
Pictures:
Check water flow
Used a Clear caulk on left side of sink
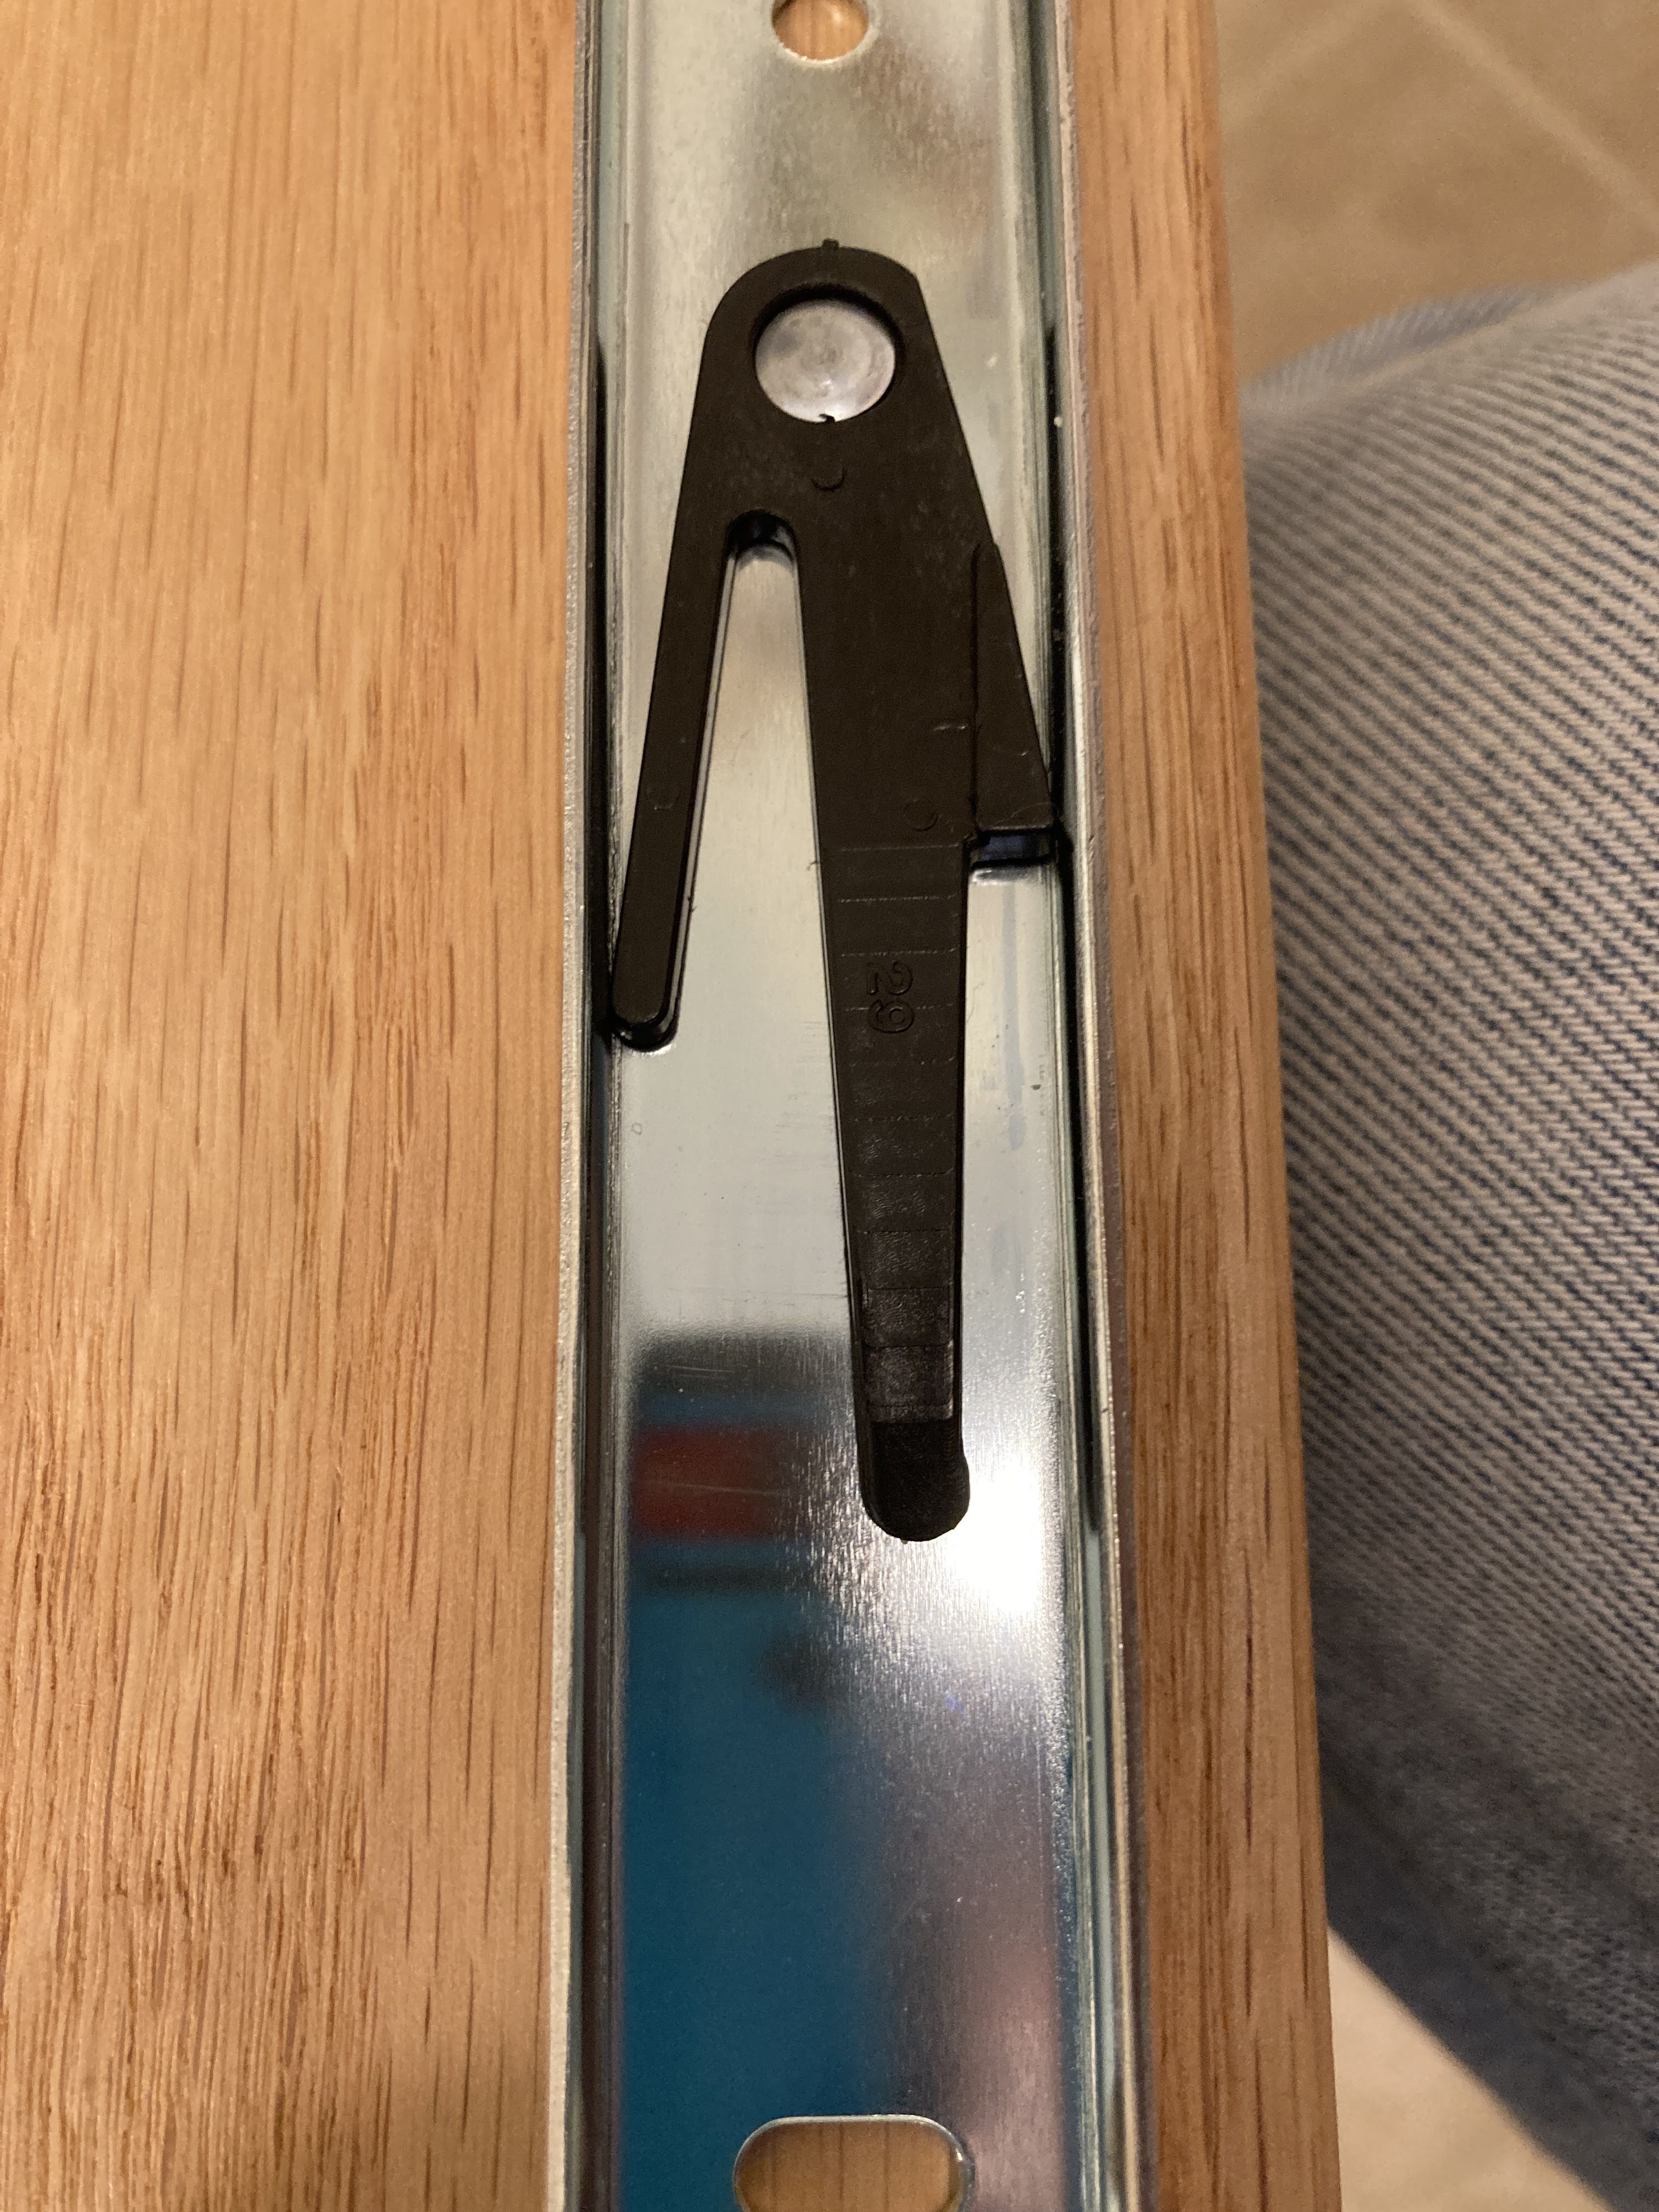
Drawer slide latches
Doors and drawer in place
Doors aligned and adjusted
Door Handles installed
Almost done - need more caulk at back of sink - 3/16 " gap at top.
Could not find a caulking gun anywhere so borrowed one from Larry. Borrowed some foam filler from Larry too.
It took four pieces of foam filler 3 8" dia x 30" to fill gap. But finished it up tonight 9.18.2023.
The caulk at the front of the shower needed to be replaced so did it too.


 J
J