Friday, April 19, 2013

SHOP TOUR

Here's a brief overview of the construction of the Garage/Shop in Rapid City, SD.

Click on any photo to see a slide show.
 
or
 
Scroll down to see captions on photos.

Construction started in October 2006


Blueprints of the new house with garage/shop - as seen from the curb.

Top view of the Garage/Shop.  The center shop is 12' x 24', and the main shop is 24' x 36'.

Concrete was poured before the ground was frozen.

Mountain in the distance is Old Baldy.


The water pipe and drain pipes on the right side are for the shop 3/4 bath.


Framing of the house and shop started the first week of Jan 2007.

A standup attic is located above the garage.  This is the same design as the two loft rooms in the house, with 5' walls at the edge sloping up to the 9' ceiling in the middle.

 
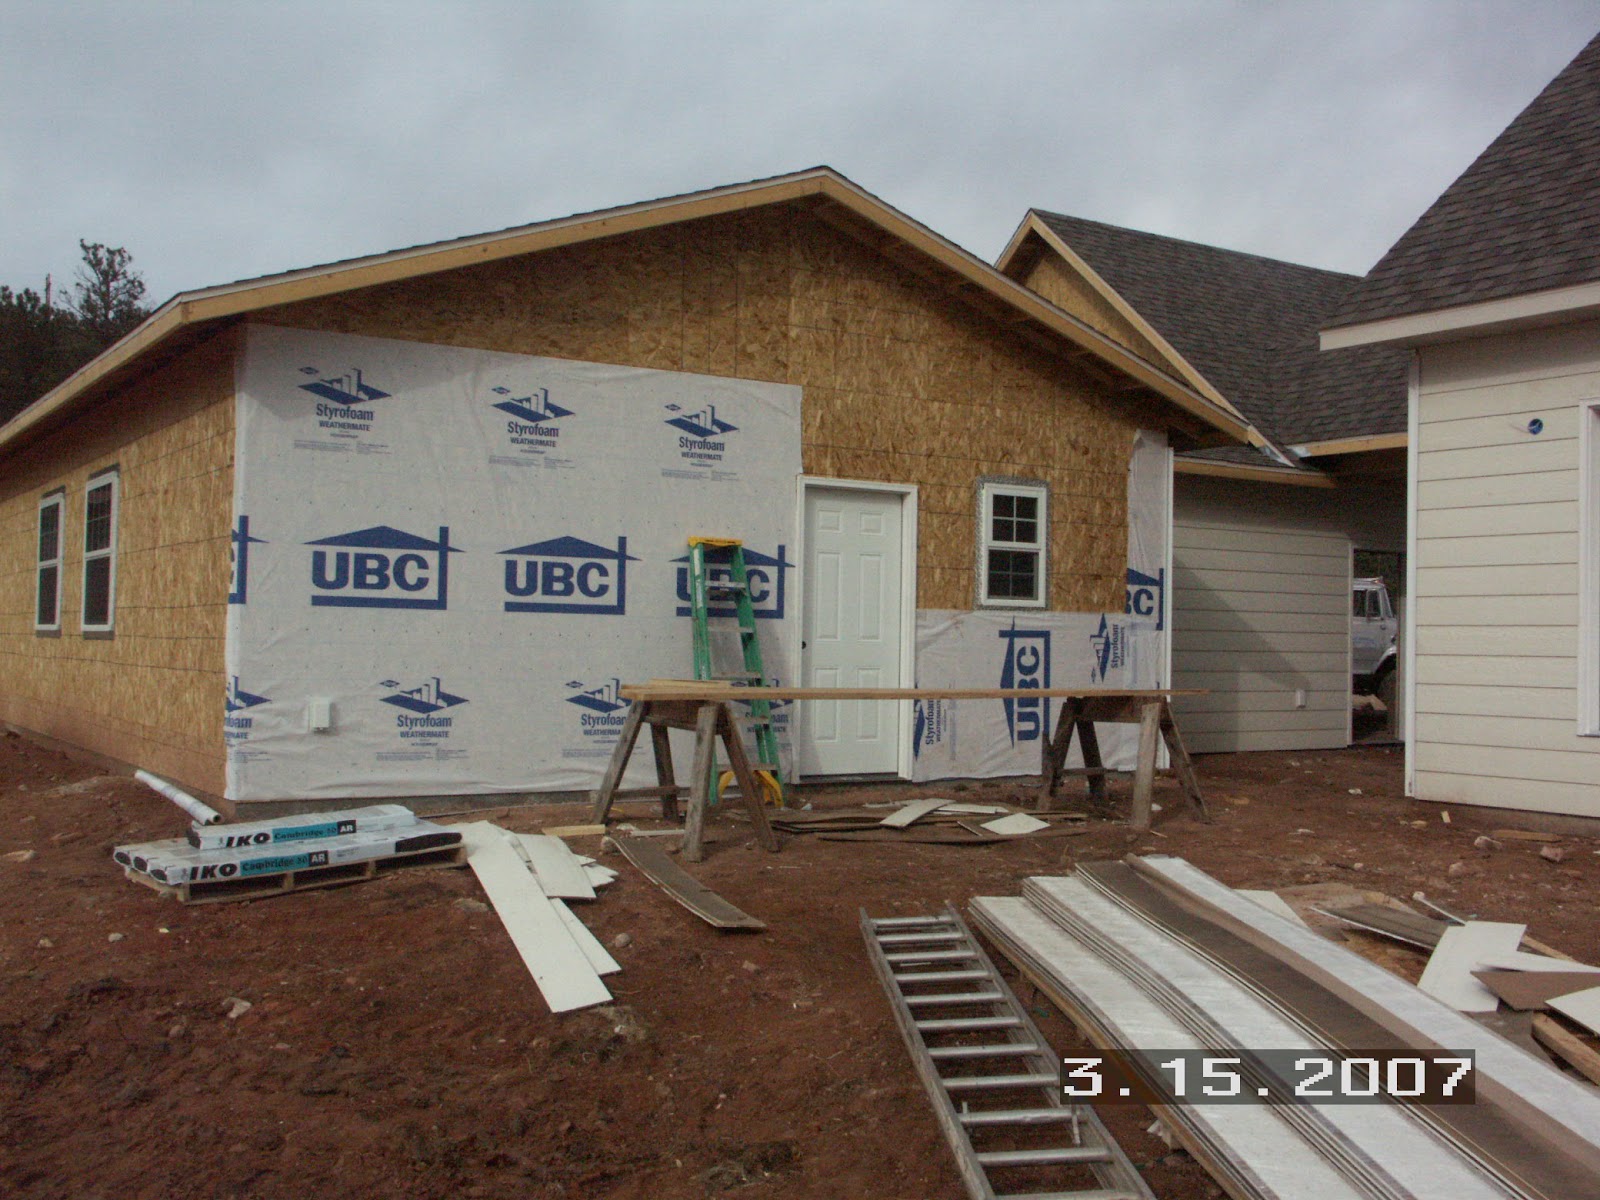
Sheating completed by Jan 24th, 2007.

Sheating completed before it snowed!


The Main shop viewed from the north side looking towards the bathroom and the door towards the patio.

The center shop contains the 200A electrical panel for the shop/garage.

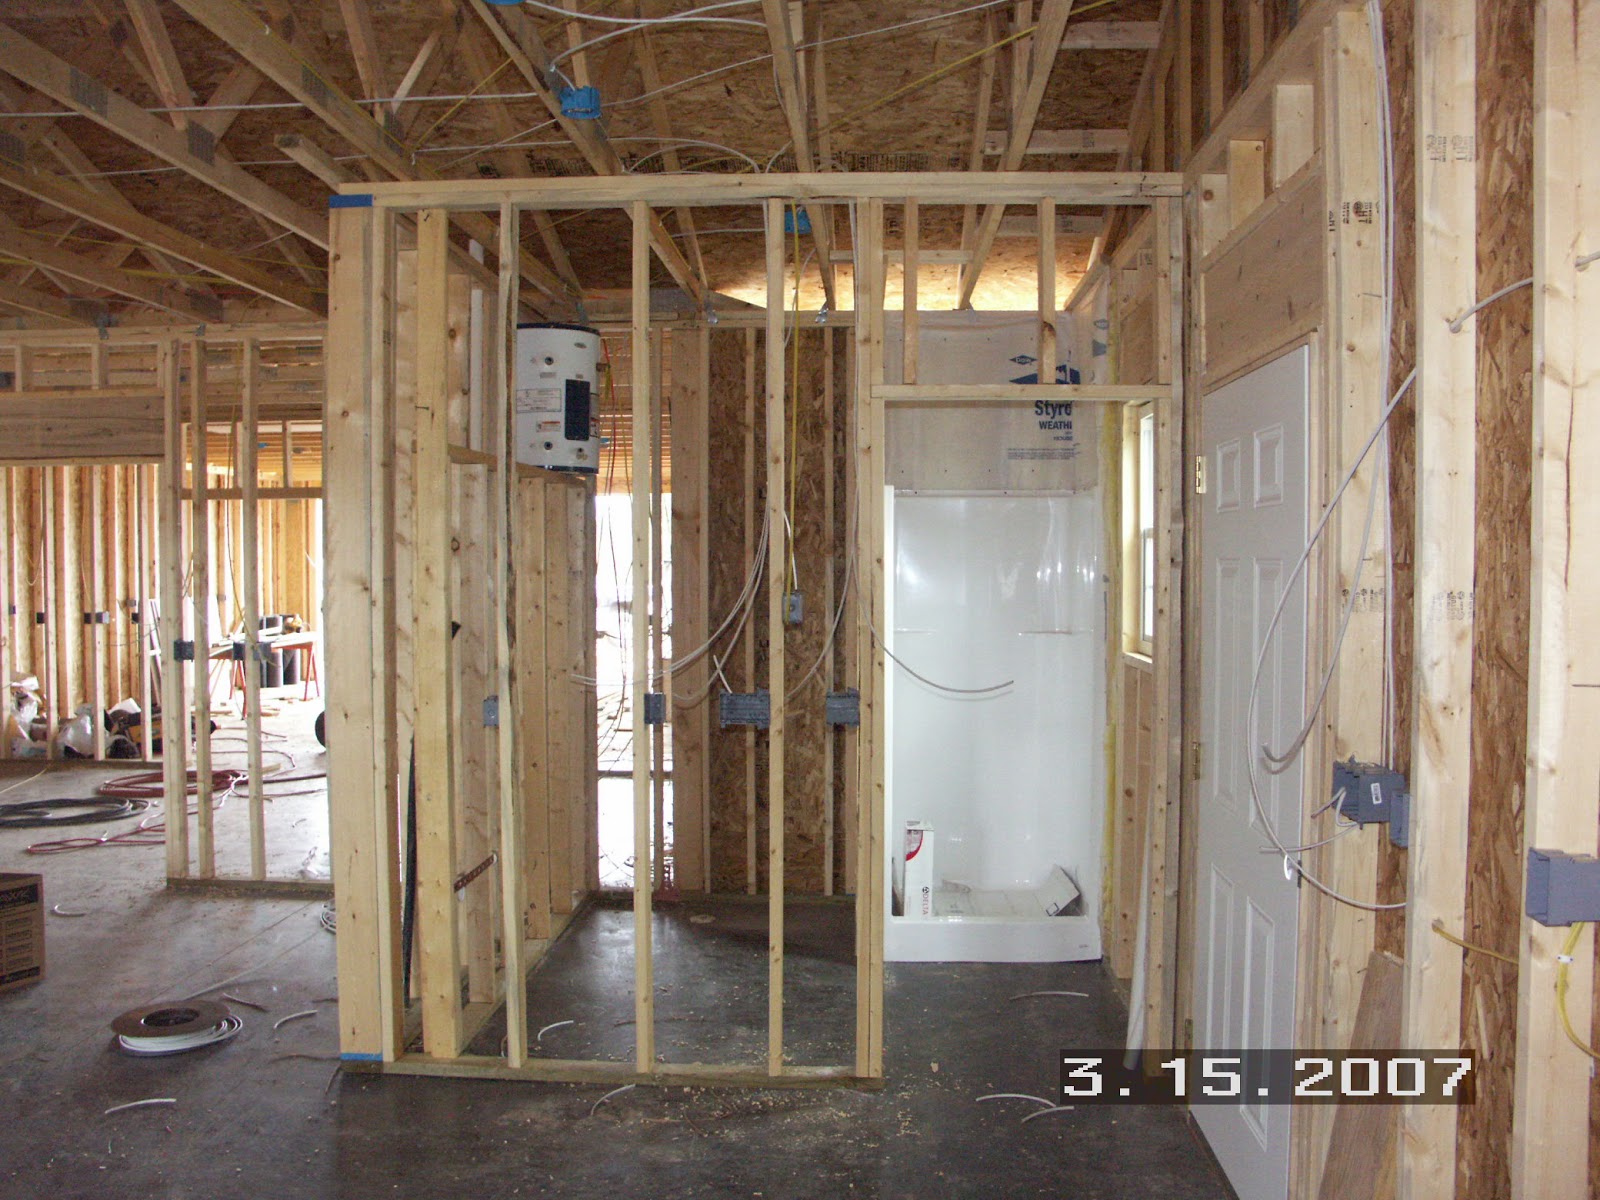
The bathroom in the main shop has a 20 gal water heater, a sink, a toilet, a shower, and a 600 W cove heater to keep everything from freezing.

View from the patio towards the shop bathroom window.

This is the attic above the garage - it is accessible thru a drop down ladder - not seen in the photo.

Here's the main shop with only the tools we brought in the 14' trailer in mid-June.

Ed Straub helped me bring the first trailer load - he also built the first Adirondack chair for the porch.

The main shop is heated with two heaters located at opposite ends of the shop.

The shop was fitted with lots and lots of overhead fluorescent lights.

One of the first things we did was to build wooden sidewalks from the house to the breezeway.  Lots of native mud everywhere.

Kathie took advantage of the new workbench.  The bench is made from a recycled bowling alley lane from a demolished bowling alley in Riverside, CA.  We built the supports with mortise and tenons in Ed's shop in Huntington Beach before leaving CA.  Ed helped me assemble it in the main shop in June 2007.

The mini-lathe is setup in the center shop.

The main shop contains the Laguna Tools LT-18 bandsaw and a really dandy quilting table.

This is looking from the main shop thru the center shop into the garage.

This is looking from the garage thru the center shop into the main shop.

Here's the view from the curb - compare it to the blueprints at the top of this blog.

Here's the view of the shop from the backyard.

Monday, January 14, 2013

Dec 2012 Projects

Projects started in Dec 2012 included refinishing a painted dresser for grandson David, restoring/repairing a small painted dresser for new granddaughter Abigail, refurbishing a few chairs for a kitchen, and adding shelves to a tall pantry.  A future project was also acquired.


Painted Dresser
We were looking for a dresser that didn't need much work and could be given a coat of paint and made to look good.  This was a good find at an auction for $20.  We expected to be able to sand it a little with some 100 grit sand paper and then give it a nice coat of white paint.  As we started sanding it, the paint was very old and began to chip off.  Then we had to get serious and sand more, and then we had to get more serious and use some stripper.  As we got it down to the original finish, we discovered it was solid wood and a good quality wood - Cherry wood.  So then it would be a major sin to put paint over cherry, so we went the extra few steps and refinished the dresser properly with a stain and a good finish.


Restoration/Refinish/Repairs

Sanding/Stripping paint from dresser.

Stripped applied and allowed to work overnight - plastic keeps it from drying out before stripper can work.
 
Paint has been softened overnight by the stripper agent.
 

With the paint removed and the wood sanded, we discovered that the dresser is made from solid cherry wood!

A stain has been applied and a finish over that.
A backsplash was added where the mirror used to be.  The mirror was damaged beyond repair.


New knobs were installed; wheels are ready to be installed, and the dresser restoration project is nearly complete.  Last step is delivery to Indiana.


Small Painted Dresser

We were looking for a small dresser for a new baby's room that could be cleaned up and painted white to match the rest of the room.  We found this one at any auction - it was the last item to be sold at the auction, but the price was good.

Small dresser for a new baby's room - needs some sanding and new paint. Then a few new handles and wheels and it will be better than new.
Got a little surprise - one of the drawers had a big chunk missing from the drawer bottom.
After a bunch of sanding, a coat of white paint is just what the doctor ordered.

New knobs didn't fit perfectly at first but with a little persuasion and hole enlarging, they work fine!
We had to build a frame under the dresser in order to mount a set of wheels.  With the wheels installed and a new set of handles too, it is ready to go!
Chairs for the Kitchen
 

Cleaned up and spruced up with OLD ENGLISH, these are ready for use.  Complete refinishing may be required sometime down the road, but they are very usable as they sit...


 Shelves for Tall Pantry


To better organize the shelves, a 12 inch wide shelf was added to each upper cabinet.
Future Project

We are finishing up the basement with a new family room, so have been looking for a small buffet to go in the family room.  We found this one at a thrift store for $15.  It will need refinishing, new knobs, new wheels, and some minor repairs to the drawers.  After a quick evaluation, it appears that with a certain amount of elbow grease, we should be able convert this to a piece of fine furniture soon, if the weather warms up again... 

 
Here's the finished buffet, only a few months later, making the final touch to the 3 year-long basement improvement project:  right at home under the TV.


the end

Saturday, September 15, 2012

Projects - Trip to CA Aug 2012

t
Here is the garage that needed some help getting organized.
Here's the 8' long 8' tall storage rack - built using miter saw and circular saw.
Gates built in SD shop from recycled stair rails from Habitat for Humanity's RE-STORE.  Installed at bottom of stairs in Chino.

Gate built in SD - installed at top of stairs in Chino.
Garage just begging for a workbench.
Workbench for daughter, new grandson and old grandson.  Built from 8' section of reclaimed maple bowling alley that was demolished in 2007 in Riverside, CA.
Didn't take long to fill it up - added pagboard above workbench and small shelf for screws.
Toy box reclaimed from Goodwill in Denver, CO.  Repaired and restored in shop in SD.  Added "TOYS" to top, hinges to stop the oak lid from slamming on fingers, and grandsons names to underside of lid. Delivered to CHINO.
Project is to hang flat screen on the wall and build shelf under it for audio/video components.
TV Mounting Bracket is installed and shelf assembled and put in position..
Shelf is almost ready - made from reclaimed plywood and fancy carving.

Carving was 3" short of shelf - so added a 1 1/2" piece of mahogany to each end and it worked great!  Finished carving with wipe-on poly and painted underside of shelf black.
the end