Saturday, August 12, 2023

Build a Shed in CO. 8.4.2023 thru 8.12.2023


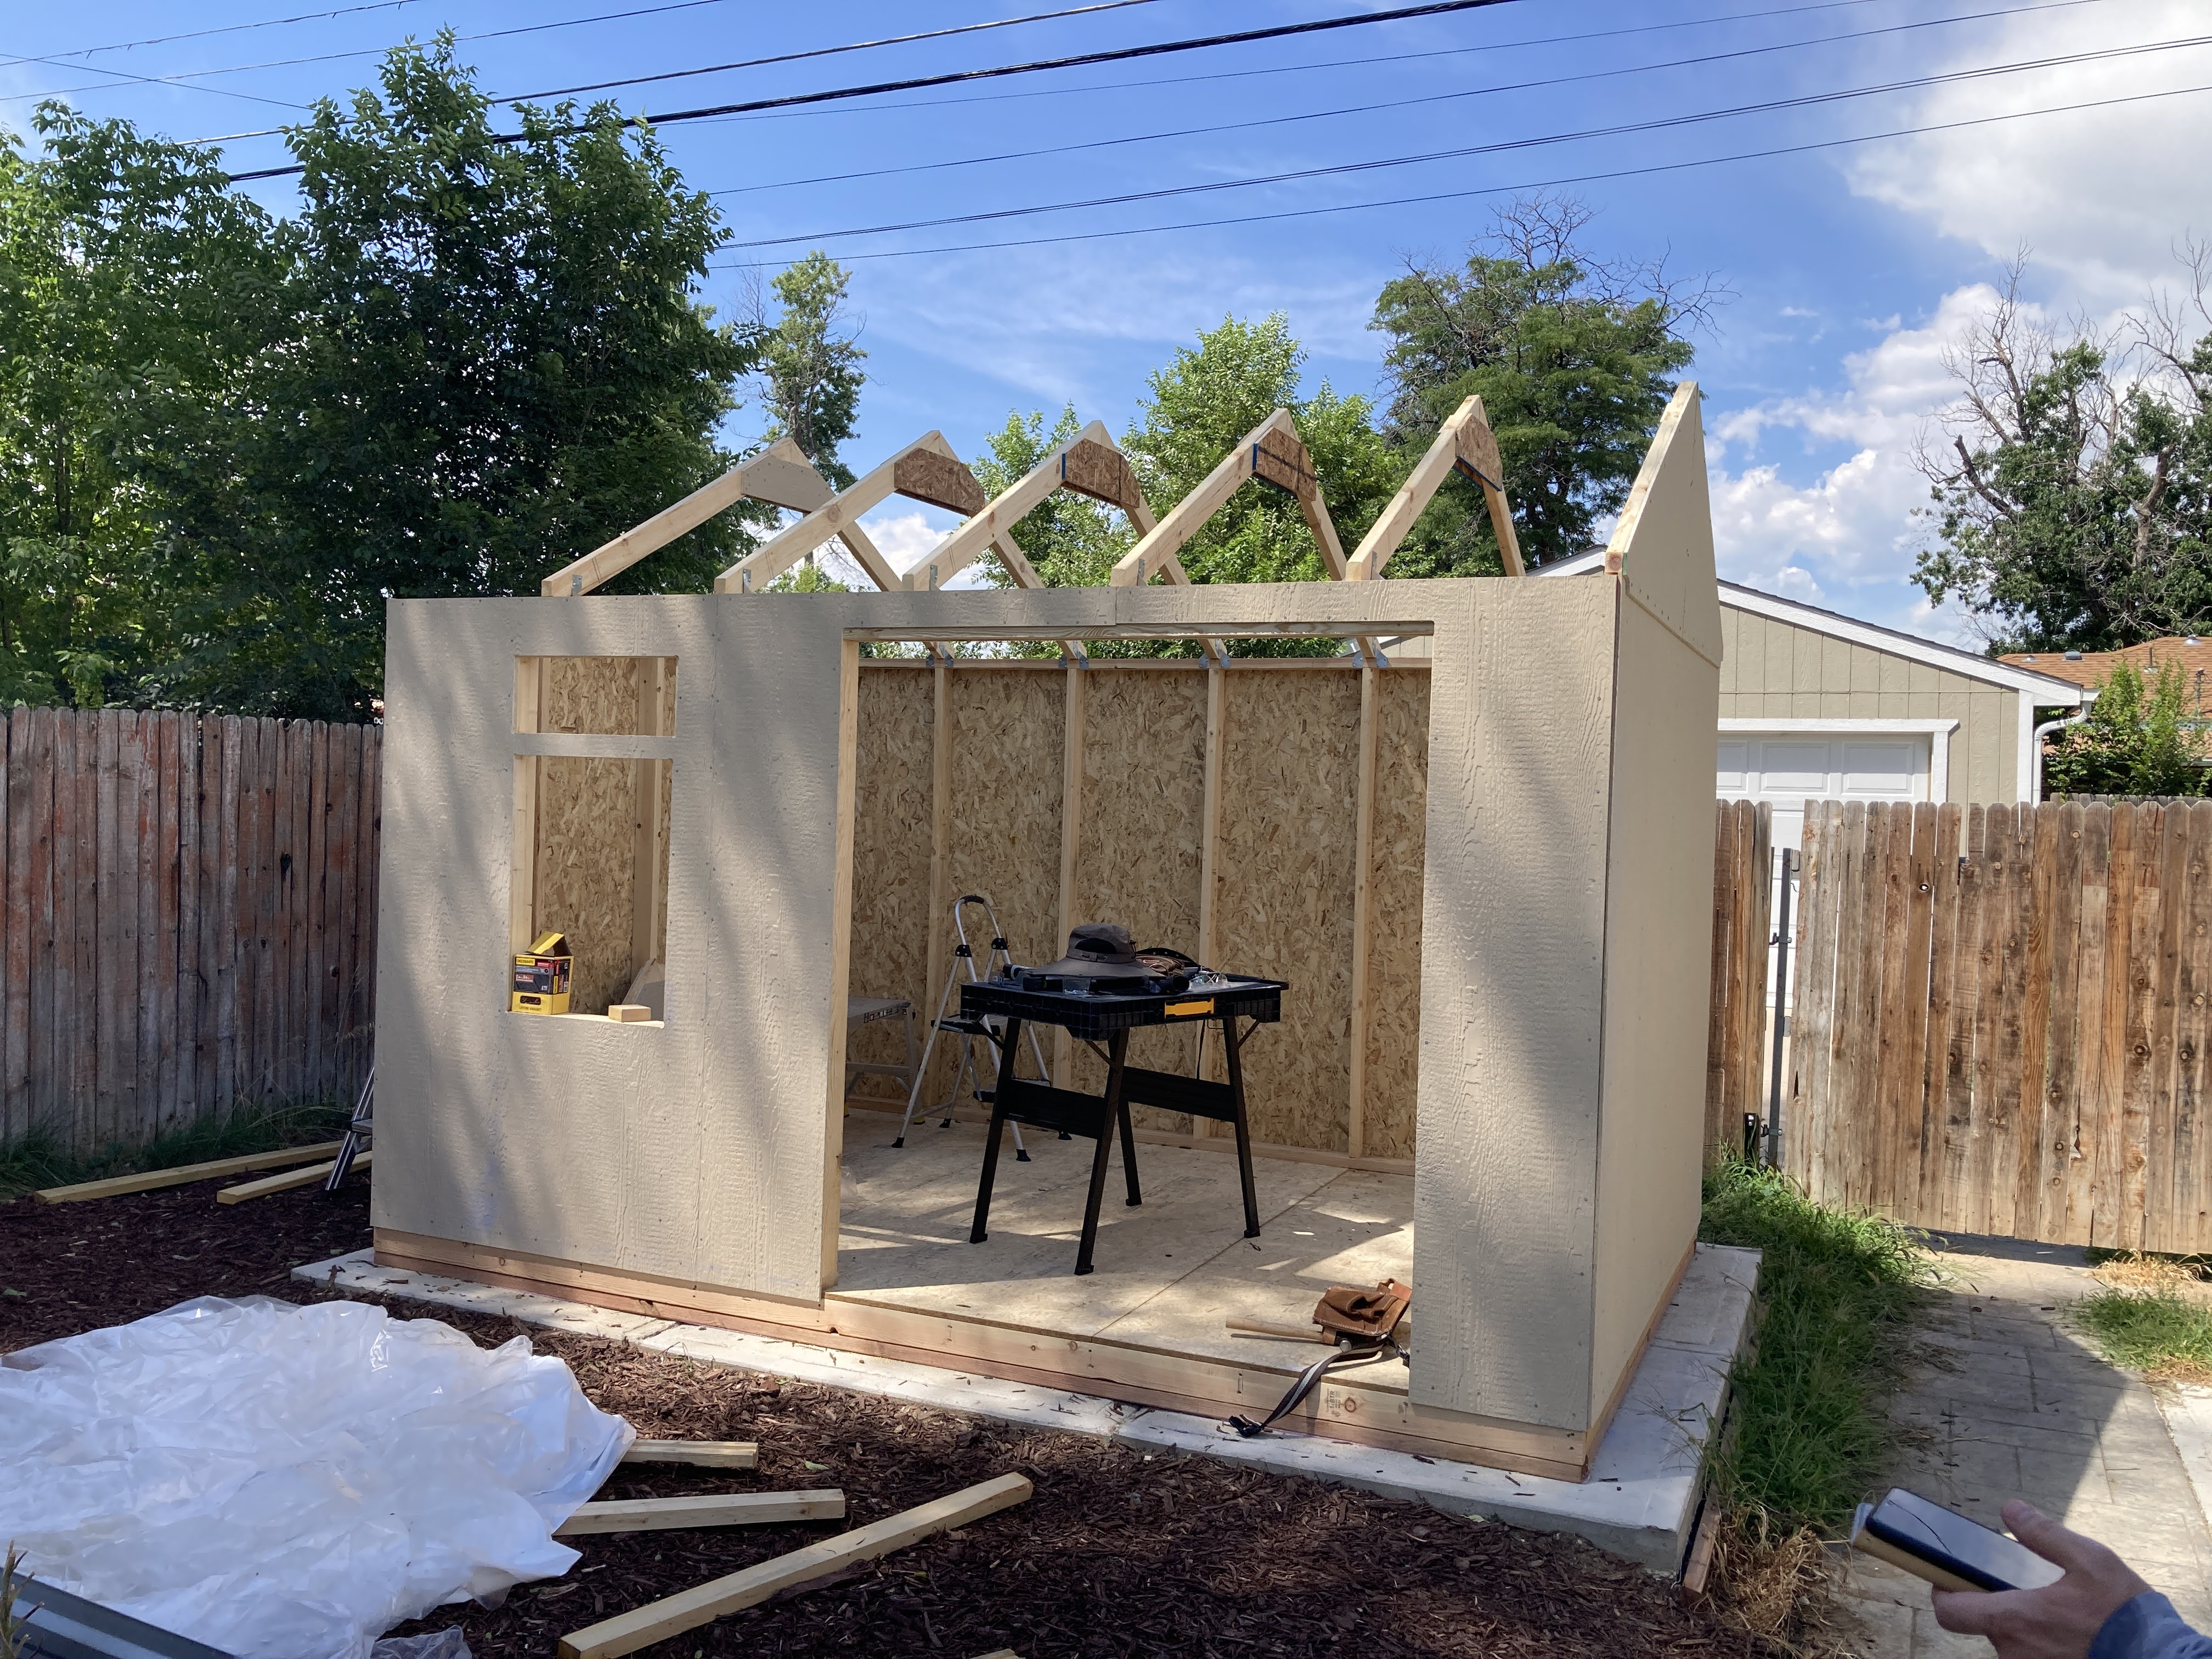
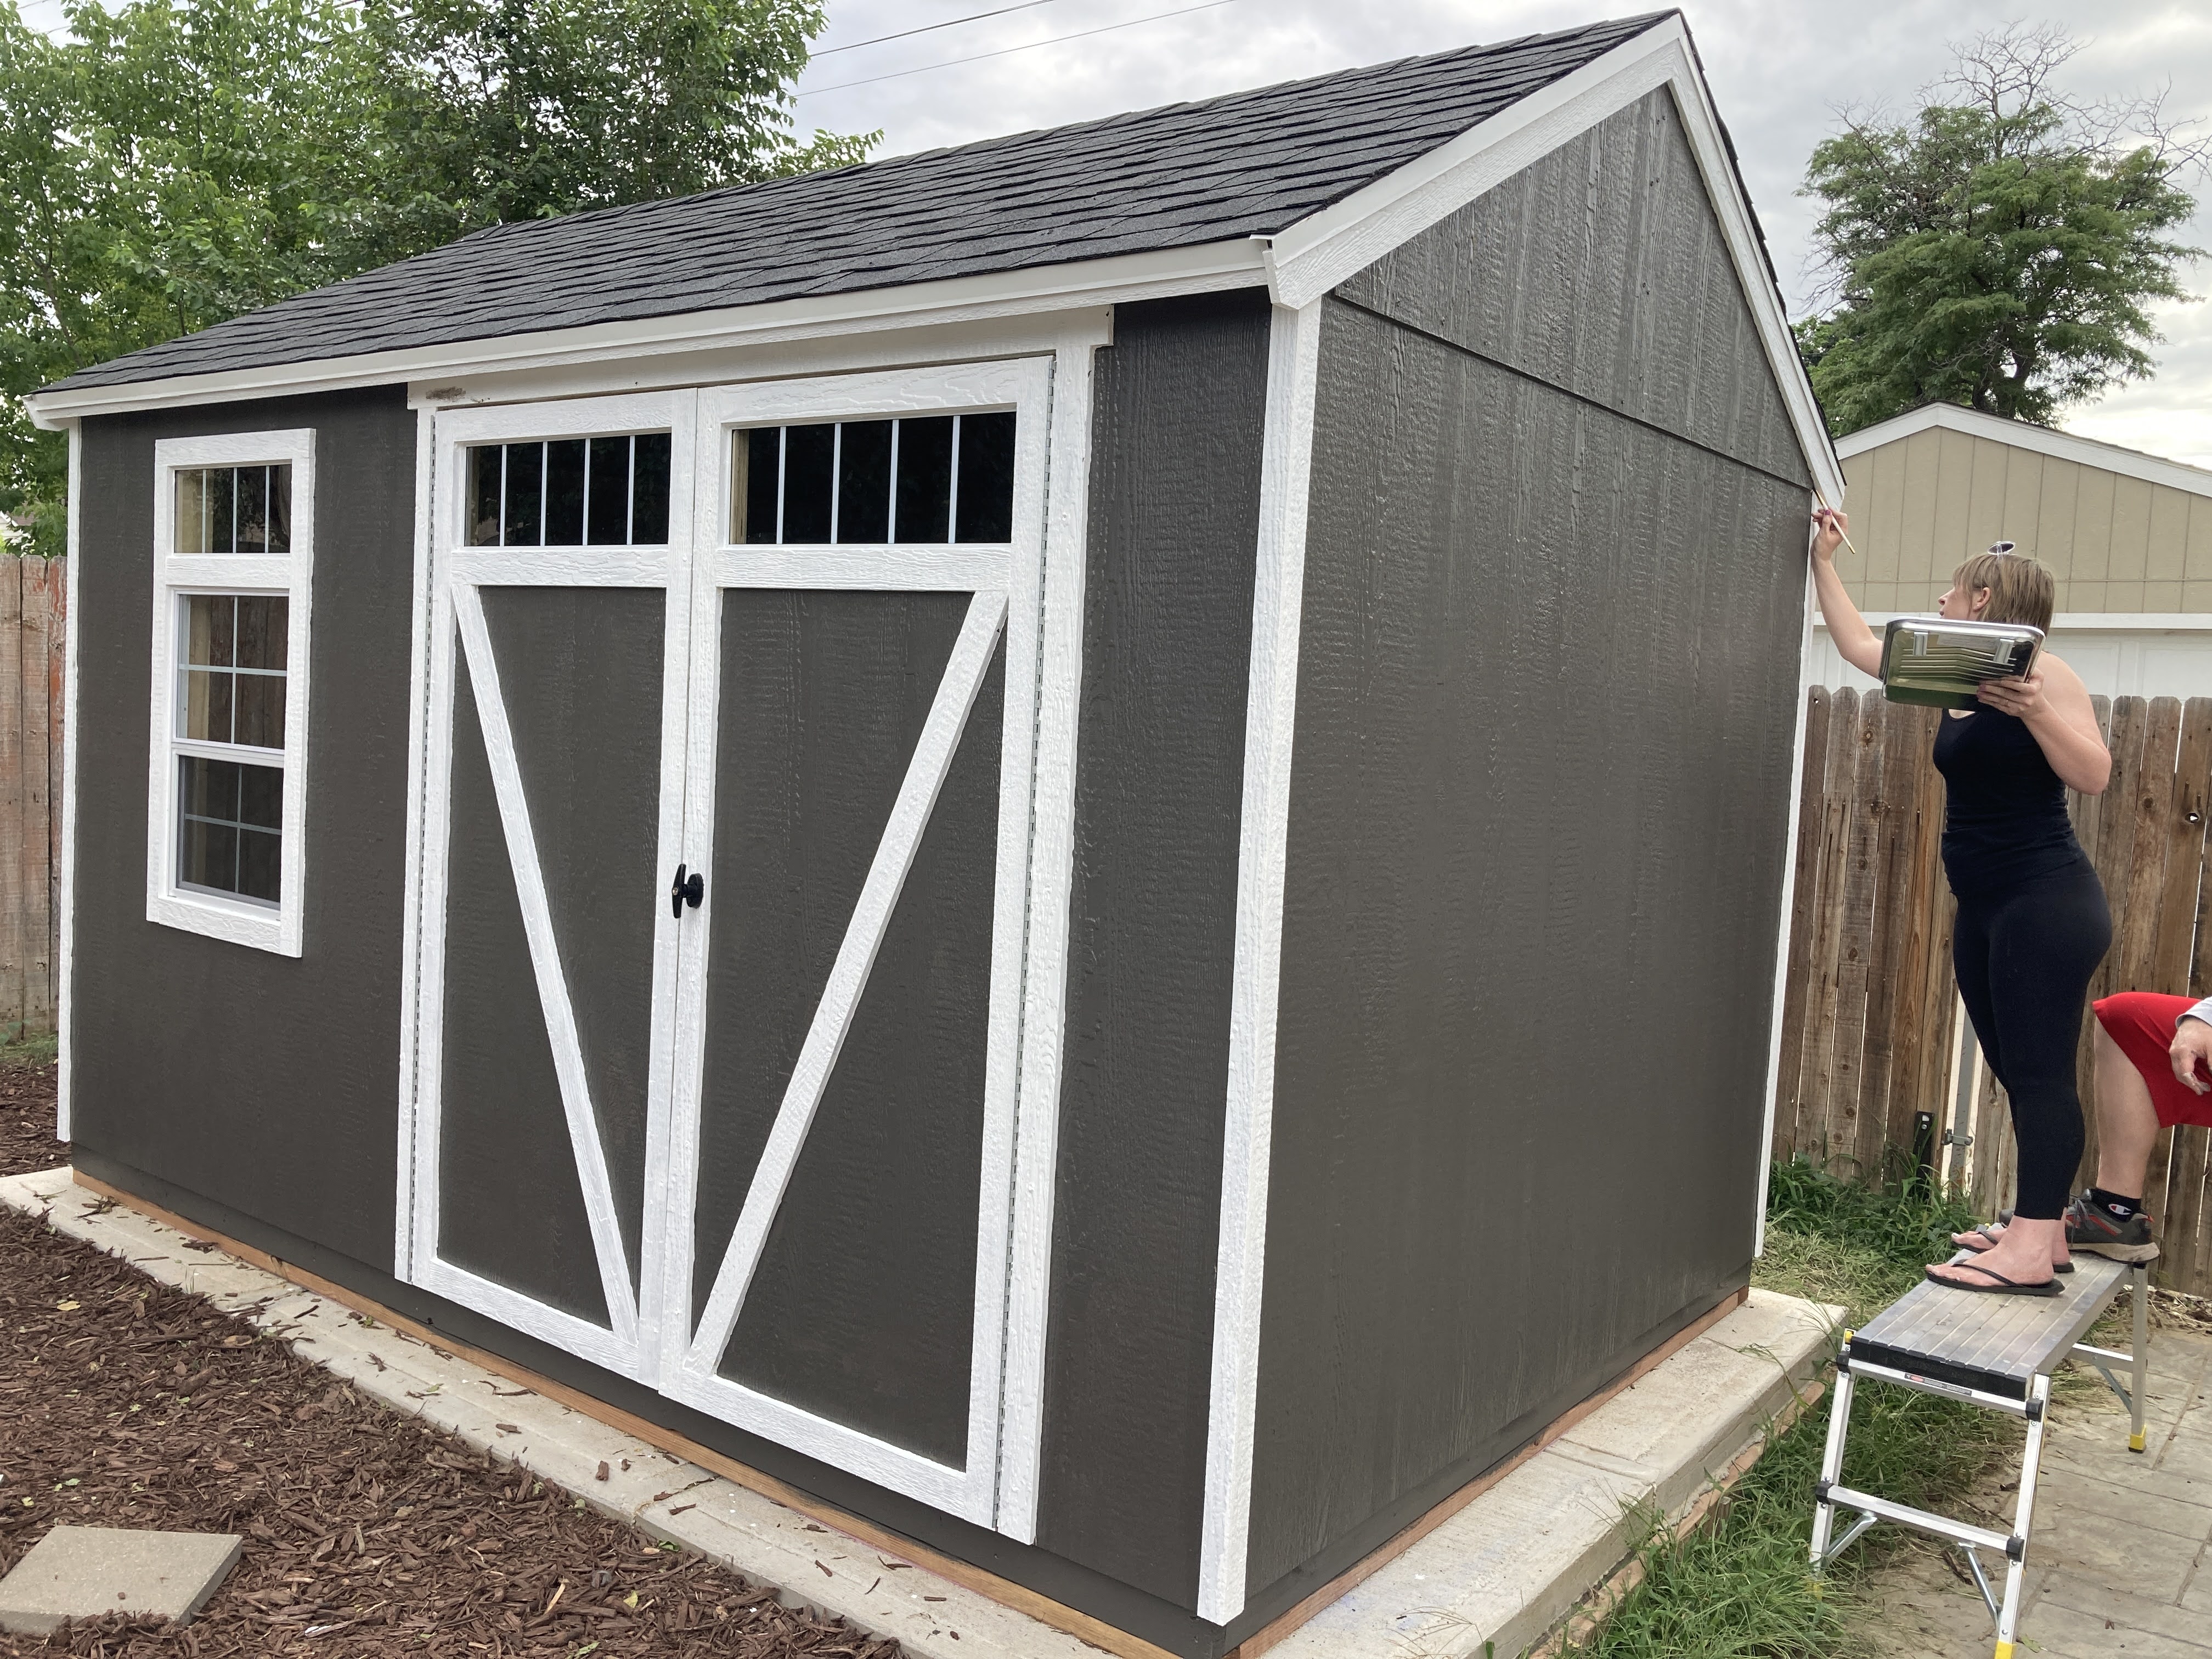
We came to Josh and Diedra's  home to help build a shed in the back yard in early August 2023.  The shed was a kit purchased from Lowe's.  It was model  Coronado, 12' x 8'.  Almost everything needed to build the shed was included in the kit.  We had to buy the roofing materials separately plus  a few pieces of hardware to make assembly easier.  We also purchased a few 12' long 2x4's to avoid some splicing in the walls.  The instruction manual was written fairly well.  Only a few notes could be added to save a few  headaches during the build.

Josh and Dierdra had poured the pad over the last year,  so the site was ready for the shed.


Shopping for items not in the kit


Prepping for Building the floor on the pad


Flooring Build


Ready to nail the floor frame together


Adding the floor panels to the frame


Building the back wall


Standing up the back wall


Building two identical side walls


Start front wall


Standing up the front wall


Build Gables and Roof Rafters


All four walls attached together


First rafter - attached with Hurricane Ties


Start installing Gables


Start installing roof panels


Tarp from Grant - Taco Johns


Build platform scaffolding


Start adding trim


Start installing the doors


Problem at gables - roof edge not flush


Fixed


Installing the tar paper and rain drip cap on eaves


Now the rain drip cap on gables


Starter row of shingles


First and second rows of Shingles


Working on Windows and Trim


We passed the last tasks of caulking and painting off to Dierdra and she promised to make it not only strong and sturdy and functional, but also beautiful.


First the trim:  white 


Then the main shed:  peppery (gray).


Ta Da!!!


Final Shed colors:  white trim, main shed:  peppery.

8.12.2023

Done, except for some power plugs and lights


The cottage at night!


Wednesday, May 3, 2023

Tape measure holders (May 2023) - stack rack prototype

Problem:  Tape measures - constantly disappear

Solution after many years of losing them:  Tape Measure holders from Amazon.

Tested them in Amie's garage - installed 4 at work bench area

Installed them in my Work Areas:

Installed 6 in main shop

Installed 3 in center shop

Installed 2 in 1st garage

Installed 2 in new shop

Guess what:  I had enough tape measures floating around the shop to  fill each holder.  But before this upgrade, I could never find one when I needed it.


Amazon catalog photo:


Initial test


My shop - first install


Feedback:  best upgrade to my shop I have ever done!

Future plans:  one each in laundry room, kitchen, and mat cutting room!

Photos of Upgrades

Installed 2 in new shop


Installed 2 in First Garage


Installed 8 in Main Shop

.  


Project:   make a central place for essential everyday shop items 


Proposed Solution:   Build a moveable rack from PVC schedule 40 pipe 3/4 " diameter


Fit Test 


PVC parts list (initial list)

(Could not get a 4 way connector, so got lots of Tees.)


Glued 1x2 cleats to shelf ends and top shelf


Built a base and attach 5" wheels


Moved rack next to miter saw


Beautiful solution for getting all work items into one easy to find location.

Concern:  way too flexible at this stage;  haven't yet cemented the joints, so very hard to push around; am not sure if this will remove the flex.

Am considering reinforcing it with a few more cross bars and maybe a solid back to connect all floating wooden shelves together.  Also if I  glue or epoxy the feet into base, it  might also stabilize it.

Maybe I need a push  handle like I made from a gun stock for my work cart.


It looks like a follow on project might be in my future.

Use plywood for the walls and use heavy duty draw slides for the draw pullouts.