Saturday, June 20, 2020

Auction Finds 6-20-2020

We picked up some auction treasures today from local auctioneers Messner and McPherson.  (Click on any photo to see a slide show of the photos in this blog.)

The first item of note was a hand sewn, hand quilted, quilt as shown below:


Auction cost was $42 dollars.  Very reasonable, and is about 10% of the cost of building a full size quilt.

The next item of note was a tote full of seven hand made quilt tops as shown below.  They are all hand sewn and are old fabrics, but most likely all new.  I put names on them as best as I know, but I could use help identifying them.


Quilt #1:  Roses and Buds Quilt Top
(This top is in two pieces, and there are smaller pieces in the tote to fill in the missing parts.)


Quilt #2:  Ice Cream Cones Quilt Top


Quilt #3:  Grandma's Flower Garden Quilt Top - with gray borders


Quilt #4:  Double Wedding Ring Quilt Top


Quilt #5:  Embroidered blocks quilt top
(one edge is not complete, will need more green and white)


Quilt #6:  Quilt top is made of large blocks (17")   (Not sure of the pattern.)


Quilt #7:  Grandma's Flower Garden Quilt Top - with white borders


Auction price was about $1 per quilt top.  I would like to make them into real usable quilts...  This will certainly keep me busy for the rest of the foreseeable future!

Tuesday, April 28, 2020

At Home - Projects - March - April 2020

March 2020

April 2020


Rocking Chair - Re-upholstery of Seat and Back

This chair was given to Kathie by my Dad just as we were leaving SD to move to CA in January 1973.  We have replaced the covering of the seat one time earlier.  The covering was un-born calf's leather.  Dierdra gave Kathie a large piece of leather a few years ago, and we have now used it to recover this heirloom rocking chair.

Kathie replaced the backing material with leather and special decorative tacks in March.  For some reason, there are no pictures of that.

Then we needed to re-tie the springs, and talking to Aunt Cecelia we learned that we needed to use a type of rope called:  Italian Ruby Twine.  So we ordered it online from amazon and waited for it to arrive.

  Then we had to research the tying technique, and we found a very helpful website:  https://www.upholster.com/how-to-upholster/how-to-tie-coil-springs.html


So I first removed all the wire and string from the previous repairs.  Then I re-tied all the springs with the twine.


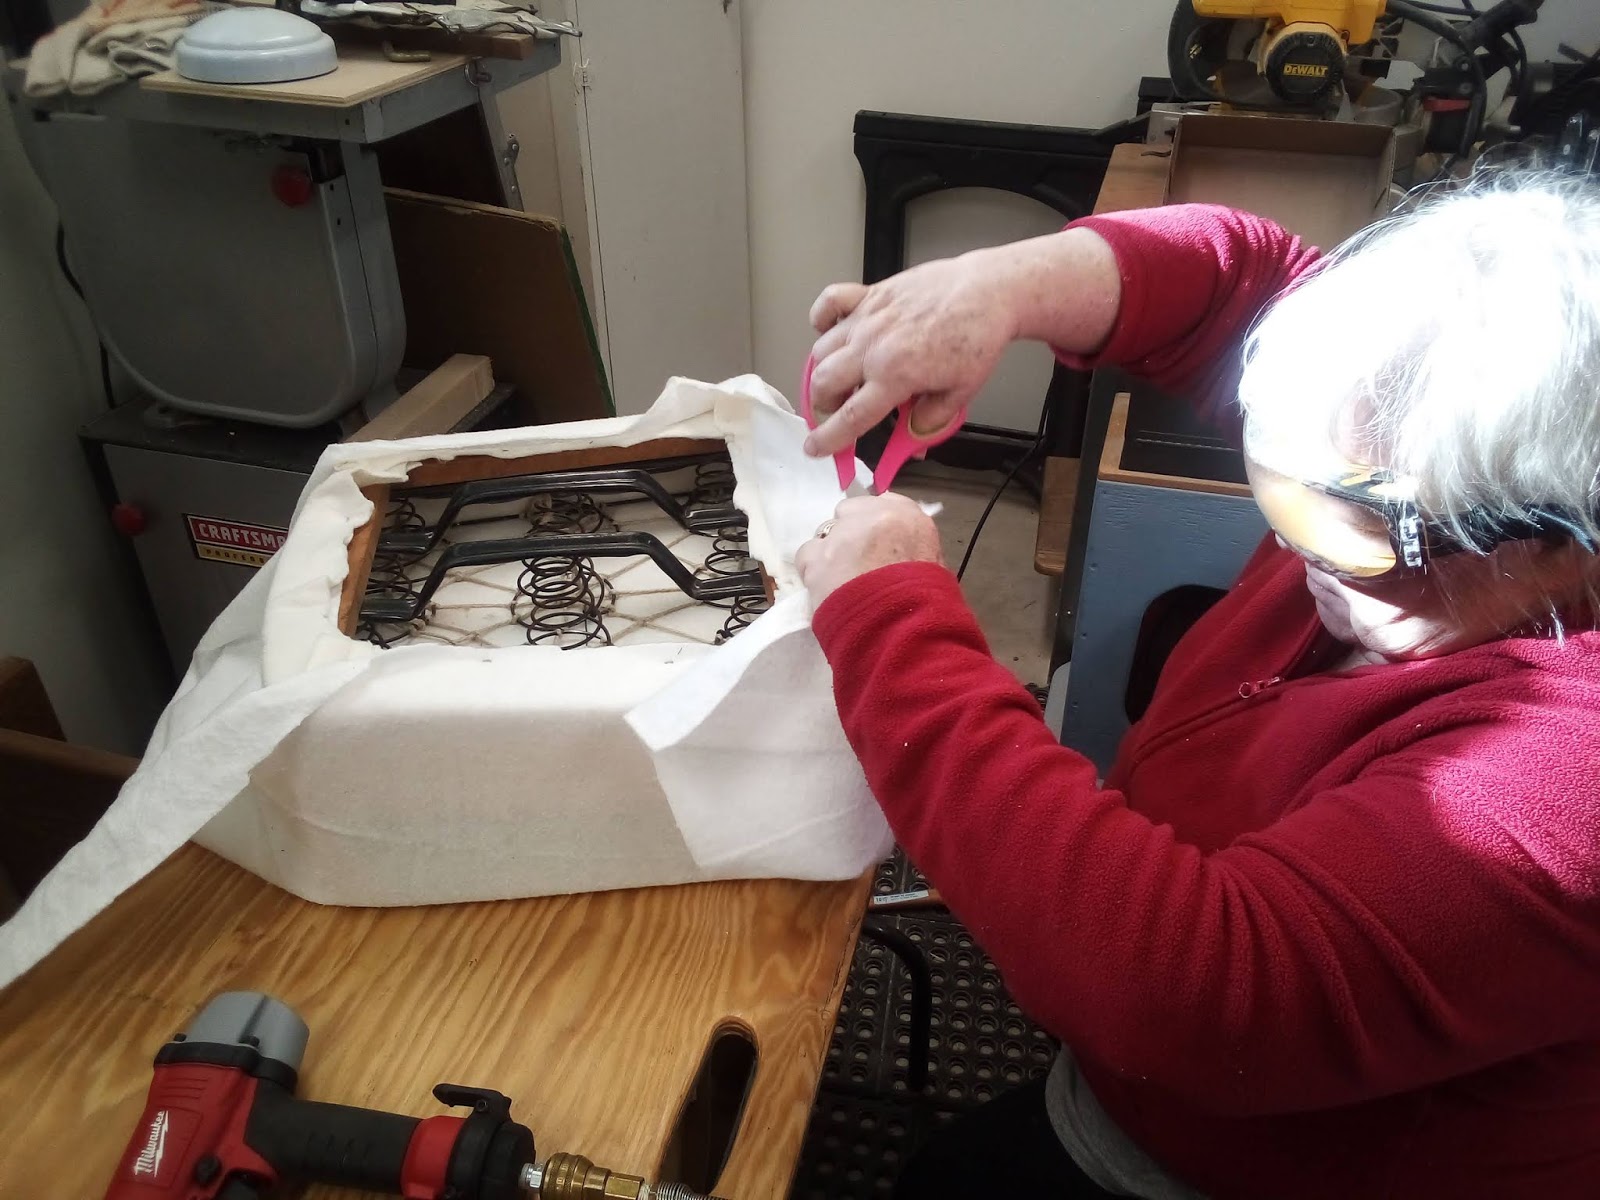
So we started the seat from by adding a layer of batting to seat frame, using tacks and the power stapler.


 Then we cut the foam pad to size on 18" band-saw (or equivalent).


Then we added a 2nd layer of batting, this time over the 3" foam pad.


Then Kathie sewed up the seat cover using a leather needle on an older sewing machine.


Then we proceeded to attach the leather cover to the frame with the power stapler (5/8" staples).


And here it is, all done.  Finally.


Leftover foam


the beginning --- of a comfortable rock.

Sunday, July 21, 2019

Handrail Project May and July 2019

Hand Rail #1  - May 2019

Larry needed a 12" long exterior handrail for one of his rentals he was preparing to sell, and couldn't find one long enough at any of the local suppliers in town, so he asked me to make one.

I used a 1" cove type router bit, with two passes to safely achieve the 3/8" depth, and then adjusted the location of the fence to achieve the specified width of the groove, with two more passes for depth.  I repeated those operations on the opposite side to obtain specified handrail dimensions from city planners.  Rail was a treated 2x6, so was 5 1/2 " wide and 12 feet long. Final width of rail needed to be 5.25 inches.  This ripping operation required a clear table saw outfeed table, plus relocating the Kreg router table to gain adequate working space.  I used the Kreg table with easily adjustable depth controls (MLCS Power Lift), to achieve 3/8" depth on each side.  After routing the grooves, I ripped the 2x6 to width, then rounded over the edges with 1/4" round-over bit.  Finally I sanded the entire handrail, both sides, with a mouse sander and 120 grit sandpaper.

The 2x6 was fairly dry after resting in the garage for a few weeks before milling. 


Hand Rail #2  - July 2019

The 2x6 was still very wet, after bringing home from Mneards the day before milling.  This created some interesting challenges during the routing process.